







The FlowVella Guide for iPad
Creating Your First Screen
Gestures
Creating a Flow
Working with Objects
Working with Objects: Cloud Sources
Using Adobe Creative Cloud
Adding Images
Adding Video
Adding Audio
Modifying Objects
Adding a Gallery
Adding a PDF
Modifying Screens
Modifying your Flow
Contact
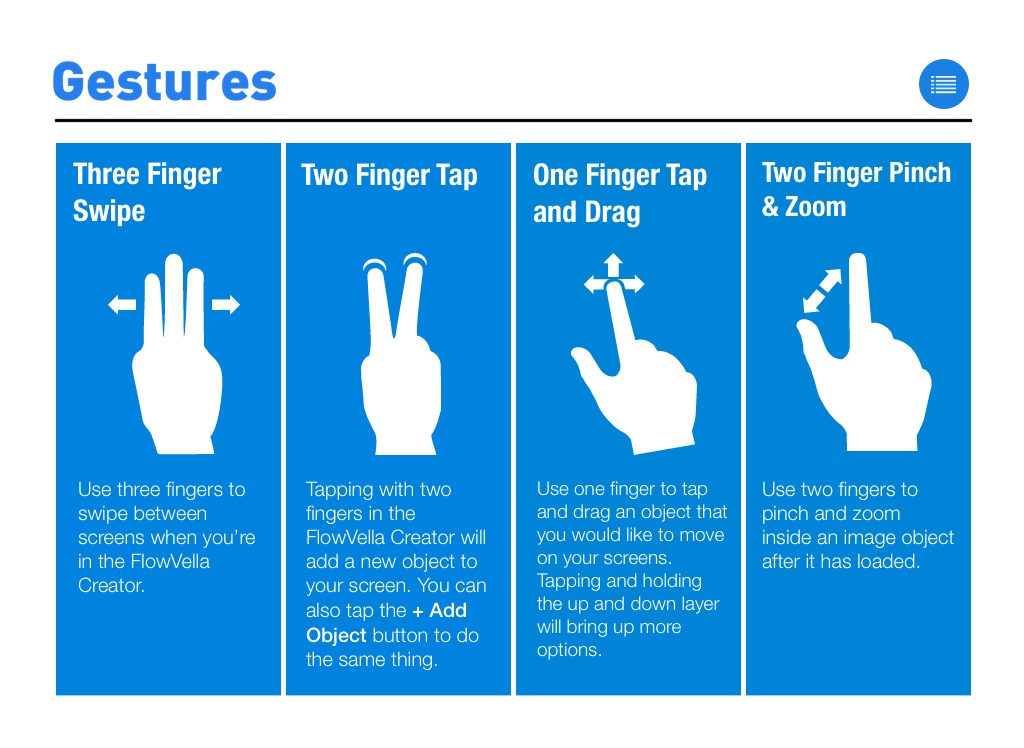
Three Finger Swipe
Two Finger Tap
One Finger Tap and Drag
Two Finger Pinch & Zoom
Use three fingers to swipe between screens when you’re in the FlowVella Creator.
Tapping with two fingers in the FlowVella Creator will add a new object to your screen. You can also tap the + Add Object button to do the same thing.
Use one finger to tap and drag an object that you would like to move on your screens. Tapping and holding the up and down layer will bring up more options.
Use two fingers to pinch and zoom inside an image object after it has loaded.
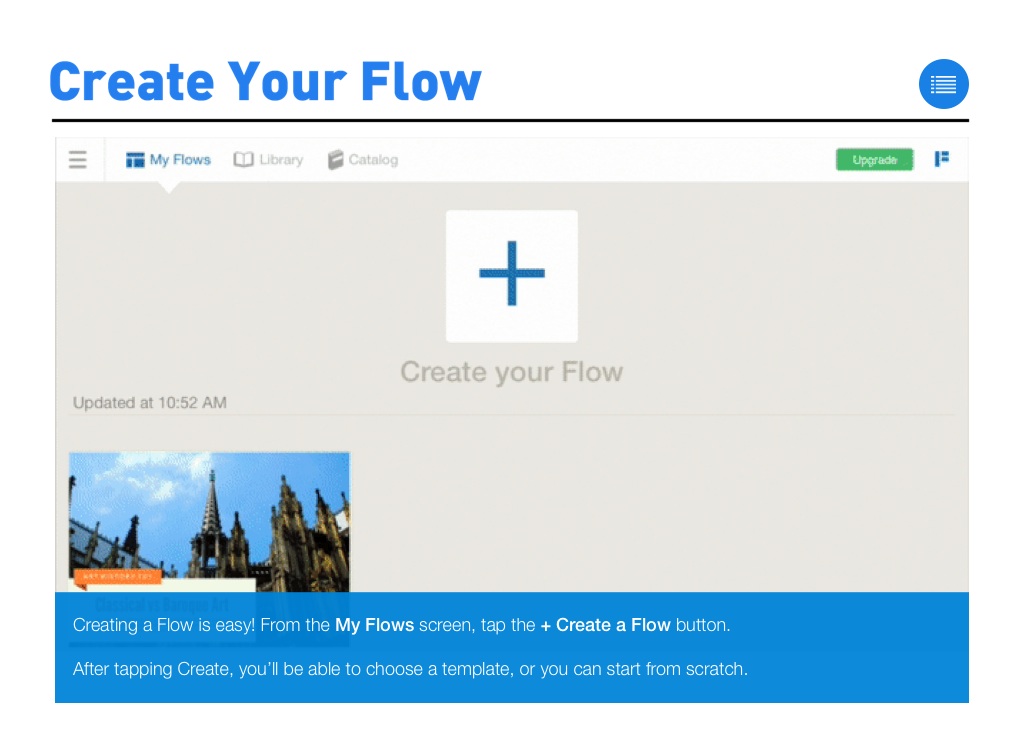
Creating a Flow is easy! From the My Flows screen, tap the + Create a Flow button. After tapping Create, you’ll be able to choose a template, or you can start from scratch.
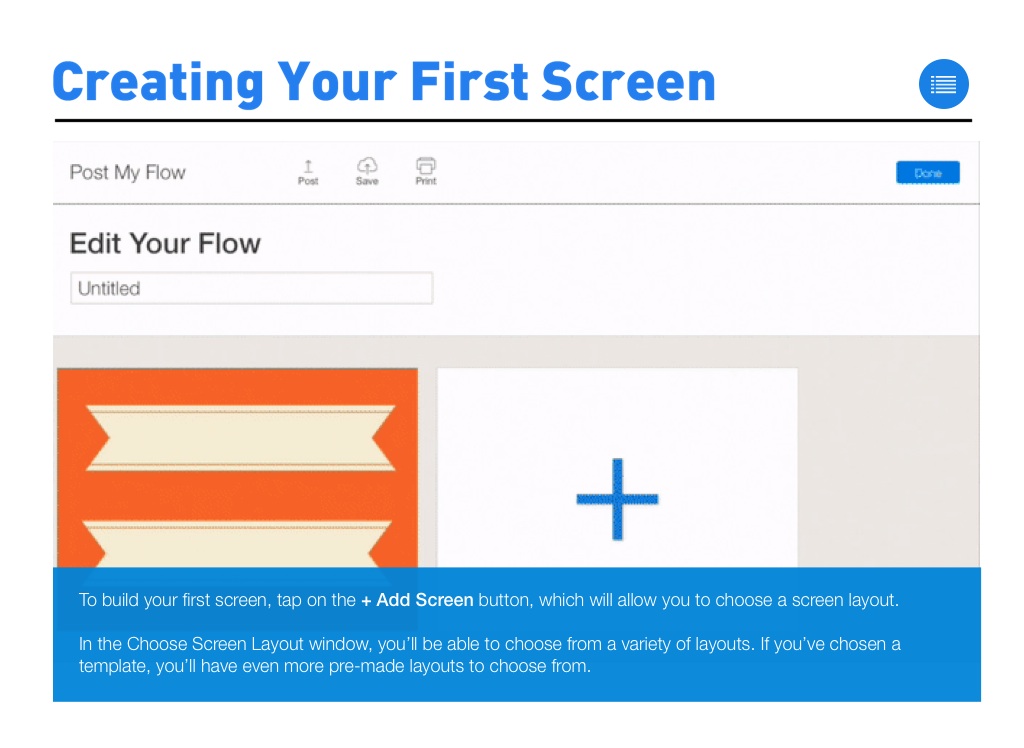
To build your first screen, tap on the + Add Screen button, which will allow you to choose a screen layout. In the Choose Screen Layout window, you’ll be able to choose from a variety of layouts. If you’ve chosen a template, you’ll have even more pre-made layouts to choose from.
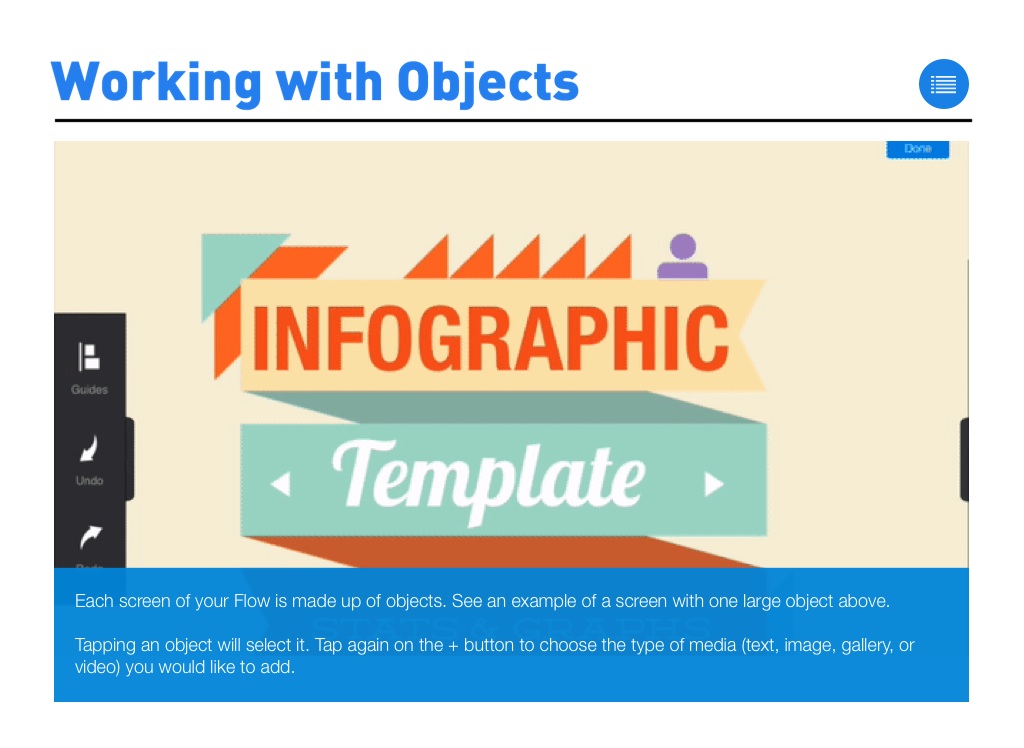
Each screen of your Flow is made up of objects. See an example of a screen with one large object above. Tapping an object will select it. Tap again on the + button to choose the type of media (text, image, gallery, or video) you would like to add.
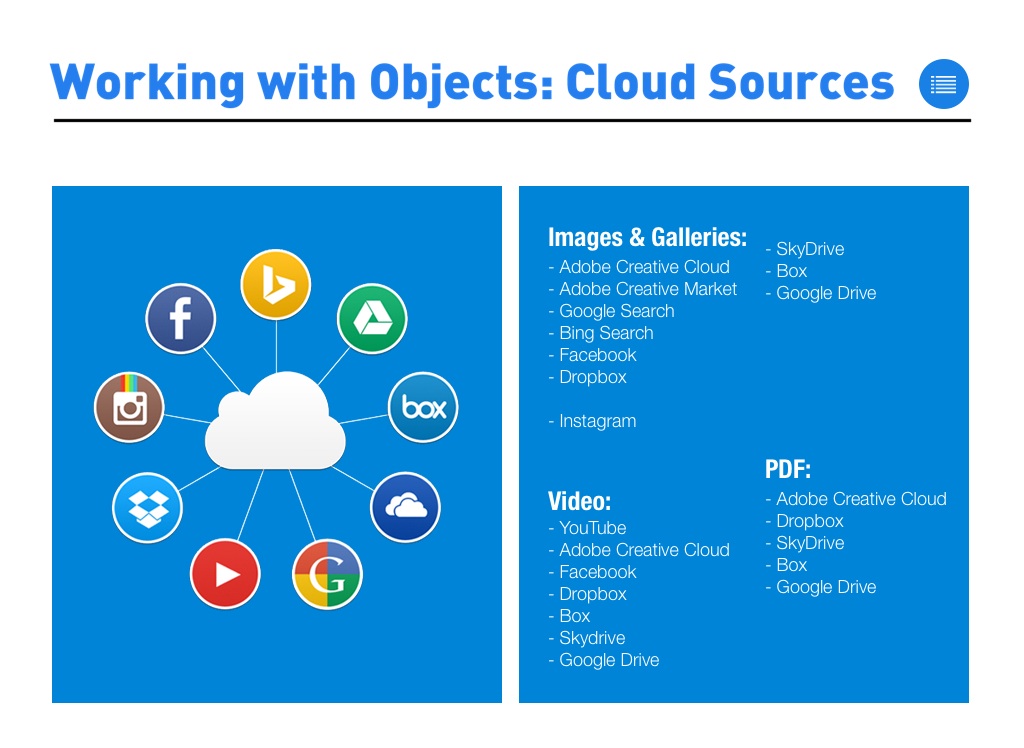
Images & Galleries: - Adobe Creative Cloud - Adobe Creative Market - Google Search - Bing Search - Facebook - Dropbox - Instagram Video: - YouTube - Adobe Creative Cloud - Facebook - Dropbox - Box - Skydrive - Google Drive
- SkyDrive - Box - Google Drive
PDF: - Adobe Creative Cloud - Dropbox - SkyDrive - Box - Google Drive
Tapping an object will select it. Tap again on the + button to choose the type of media (text, image, gallery, or video) you would like to add.
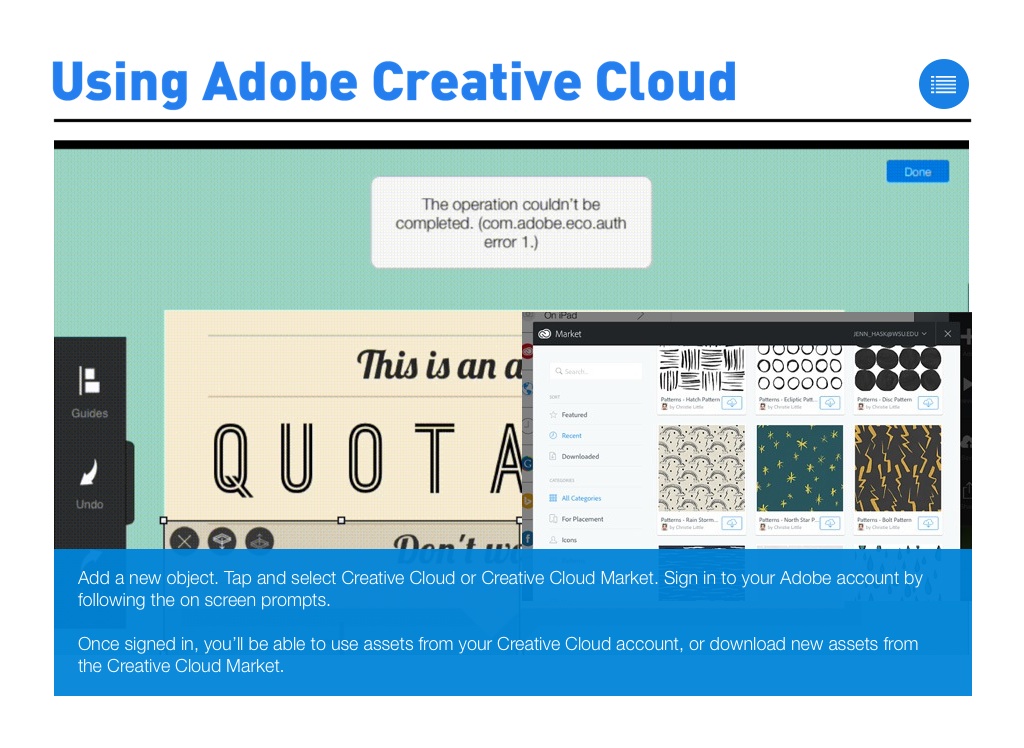
Add a new object. Tap and select Creative Cloud or Creative Cloud Market. Sign in to your Adobe account by following the on screen prompts. Once signed in, you’ll be able to use assets from your Creative Cloud account, or download new assets from the Creative Cloud Market.
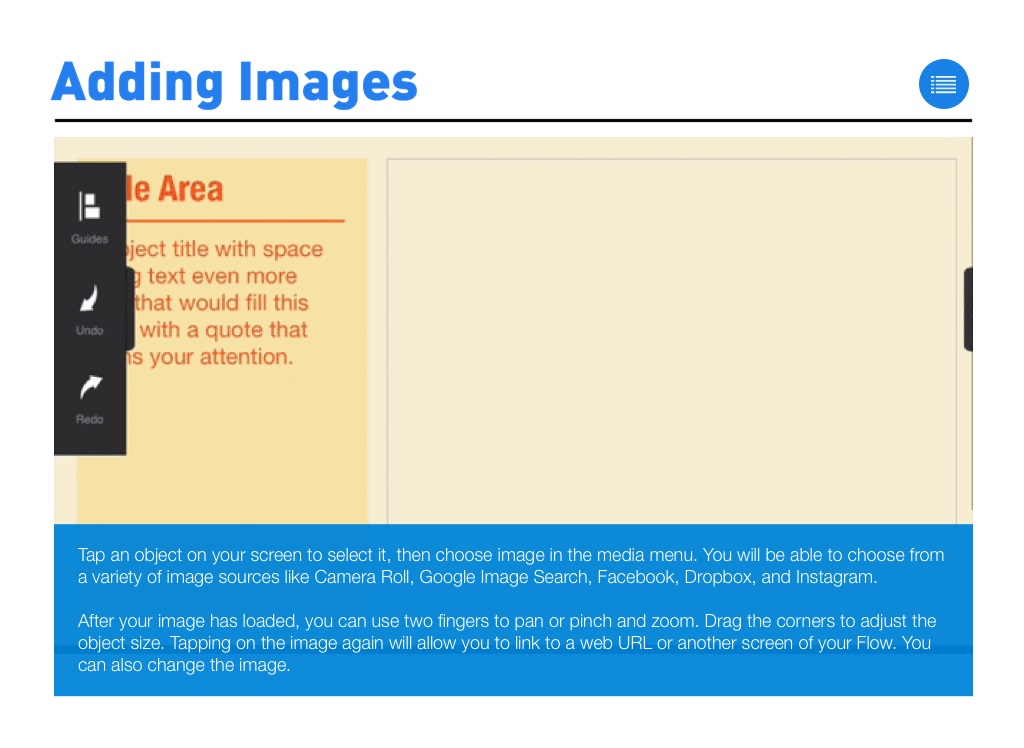
Tap an object on your screen to select it, then choose image in the media menu. You will be able to choose from a variety of image sources like Camera Roll, Google Image Search, Facebook, Dropbox, and Instagram. After your image has loaded, you can use two fingers to pan or pinch and zoom. Drag the corners to adjust the object size. Tapping on the image again will allow you to link to a web URL or another screen of your Flow. You can also change the image.
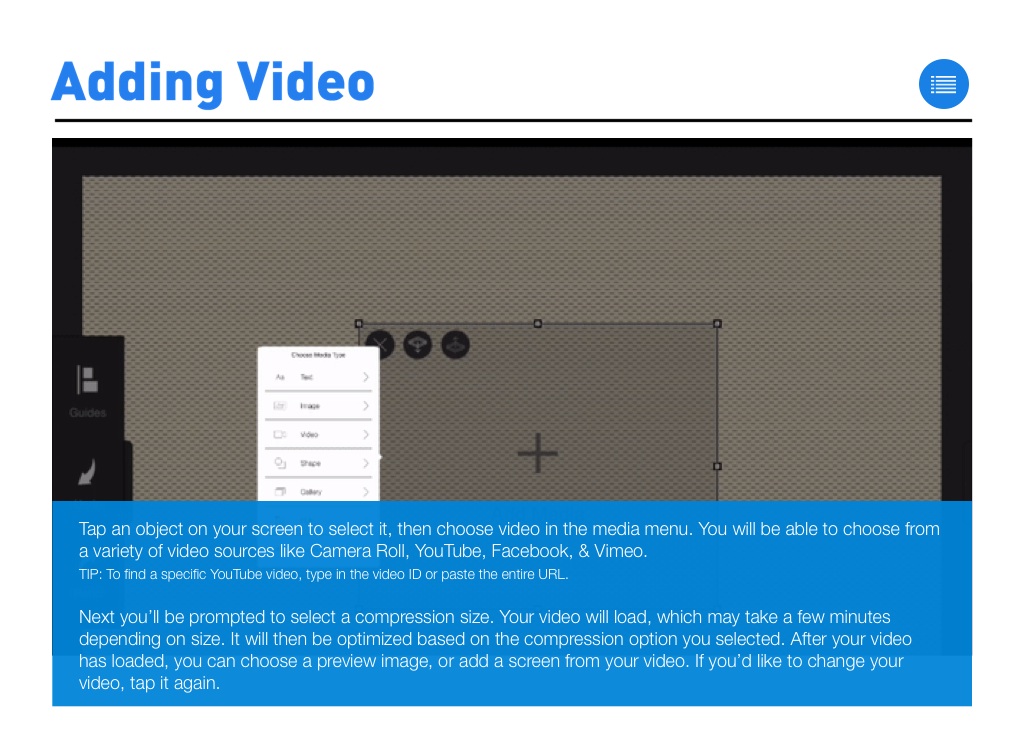
Tap an object on your screen to select it, then choose video in the media menu. You will be able to choose from a variety of video sources like Camera Roll, YouTube, Facebook, & Vimeo. TIP: To find a specific YouTube video, type in the video ID or paste the entire URL. Next you’ll be prompted to select a compression size. Your video will load, which may take a few minutes depending on size. It will then be optimized based on the compression option you selected. After your video has loaded, you can choose a preview image, or add a screen from your video. If you’d like to change your video, tap it again.
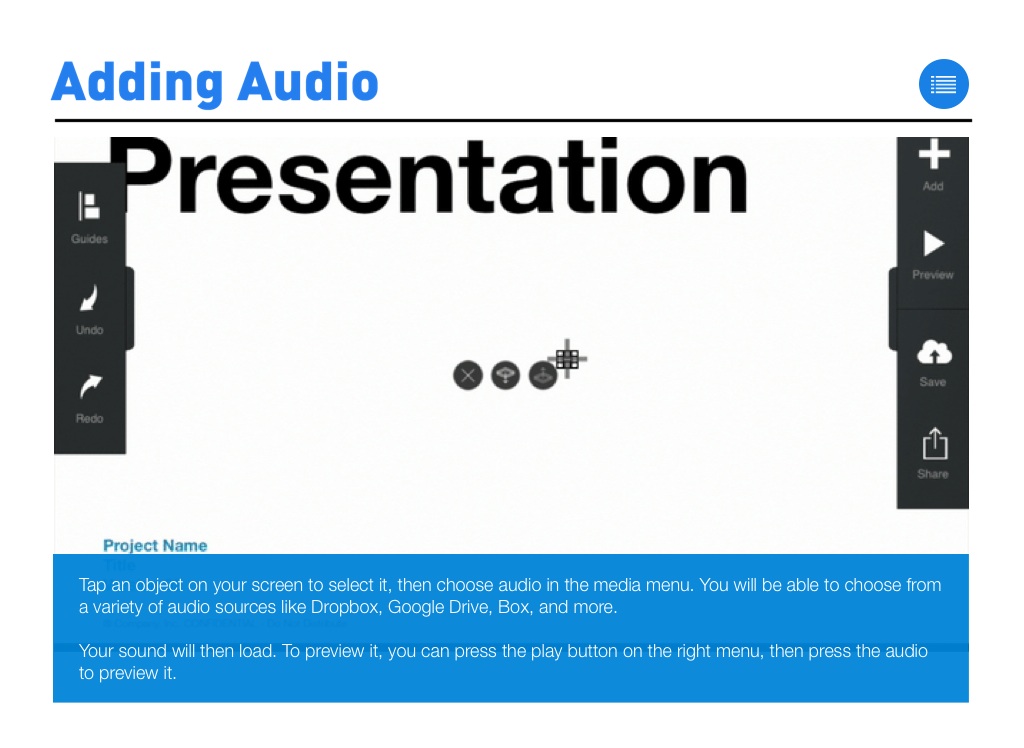
Tap an object on your screen to select it, then choose audio in the media menu. You will be able to choose from a variety of audio sources like Dropbox, Google Drive, Box, and more. Your sound will then load. To preview it, you can press the play button on the right menu, then press the audio to preview it.
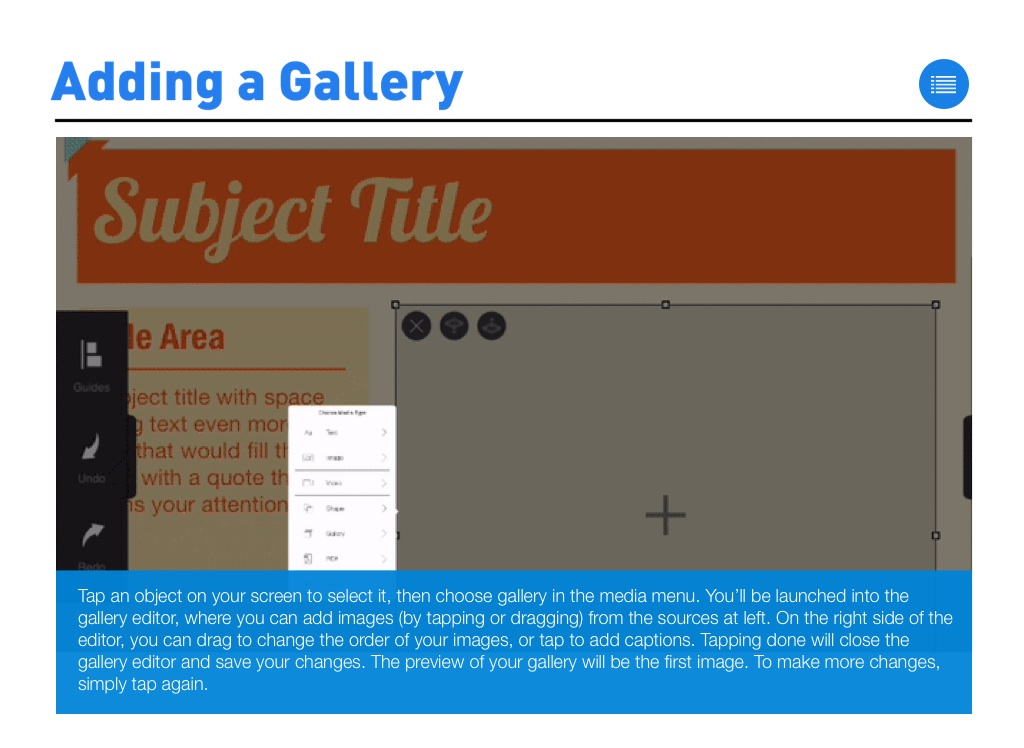
Tap an object on your screen to select it, then choose gallery in the media menu. You’ll be launched into the gallery editor, where you can add images (by tapping or dragging) from the sources at left. On the right side of the editor, you can drag to change the order of your images, or tap to add captions. Tapping done will close the gallery editor and save your changes. The preview of your gallery will be the first image. To make more changes, simply tap again.
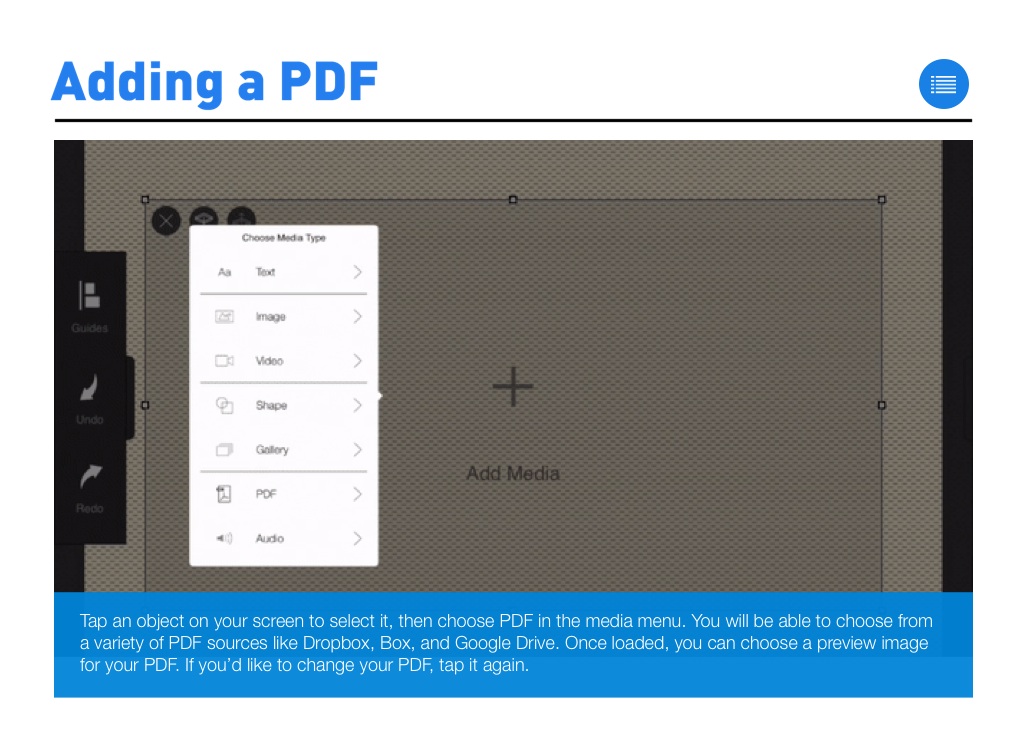
Tap an object on your screen to select it, then choose PDF in the media menu. You will be able to choose from a variety of PDF sources like Dropbox, Box, and Google Drive. Once loaded, you can choose a preview image for your PDF. If you’d like to change your PDF, tap it again.
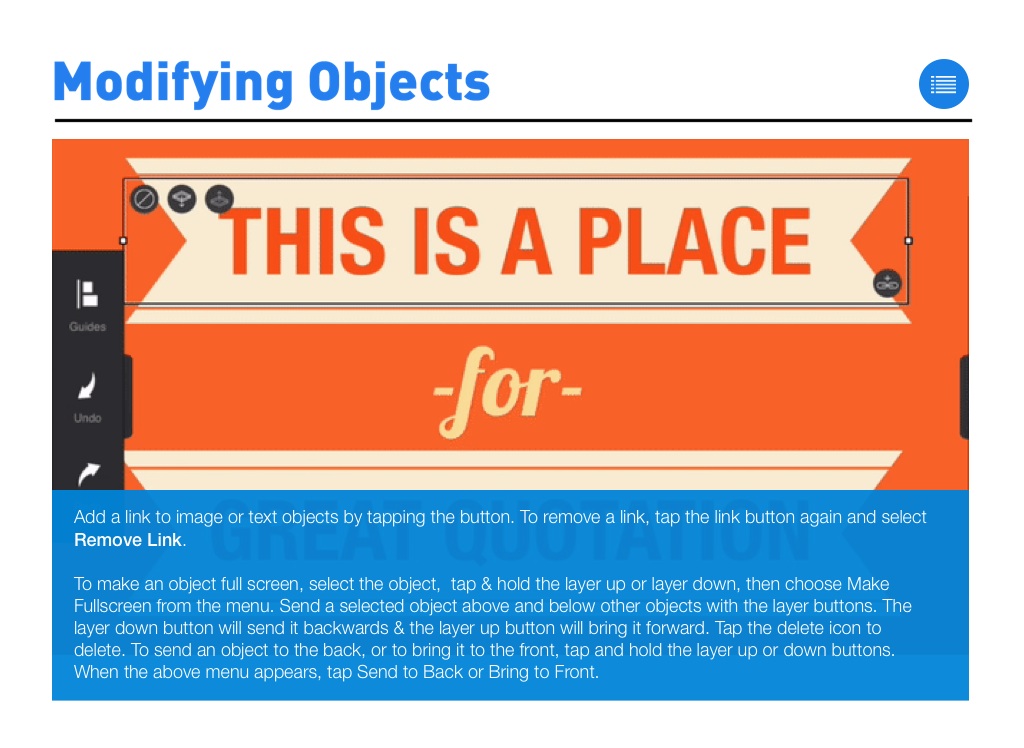
Add a link to image or text objects by tapping the button. To remove a link, tap the link button again and select Remove Link. To make an object full screen, select the object, tap & hold the layer up or layer down, then choose Make Fullscreen from the menu. Send a selected object above and below other objects with the layer buttons. The layer down button will send it backwards & the layer up button will bring it forward. Tap the delete icon to delete. To send an object to the back, or to bring it to the front, tap and hold the layer up or down buttons. When the above menu appears, tap Send to Back or Bring to Front.
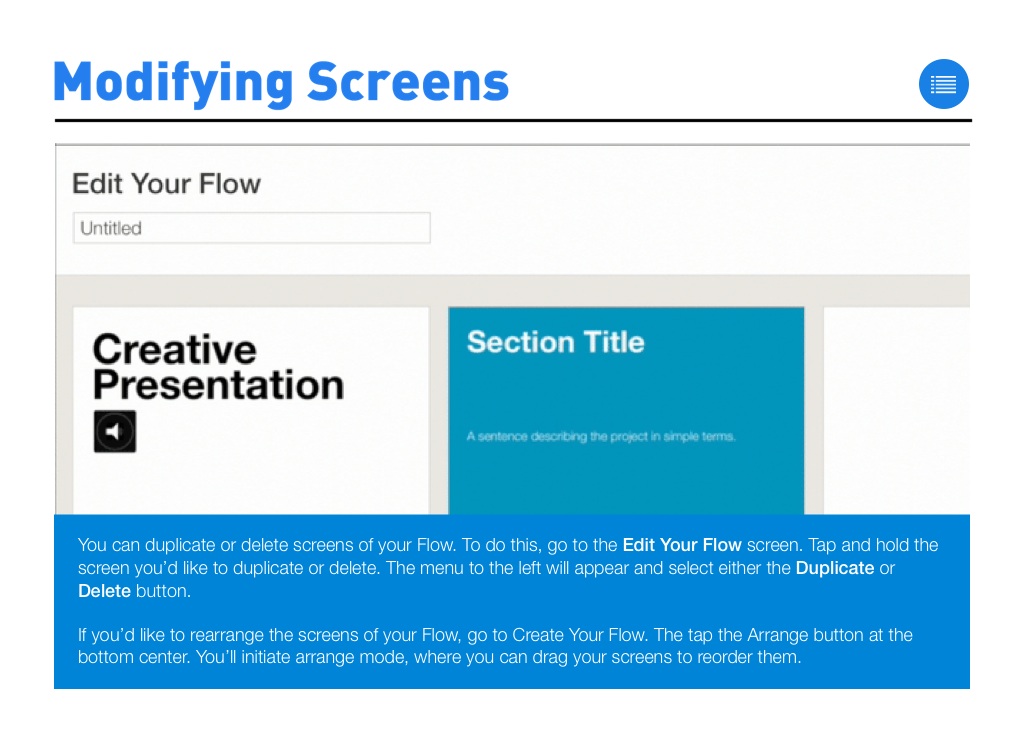
You can duplicate or delete screens of your Flow. To do this, go to the Edit Your Flow screen. Tap and hold the screen you’d like to duplicate or delete. The menu to the left will appear and select either the Duplicate or Delete button. If you’d like to rearrange the screens of your Flow, go to Create Your Flow. The tap the Arrange button at the bottom center. You’ll initiate arrange mode, where you can drag your screens to reorder them.
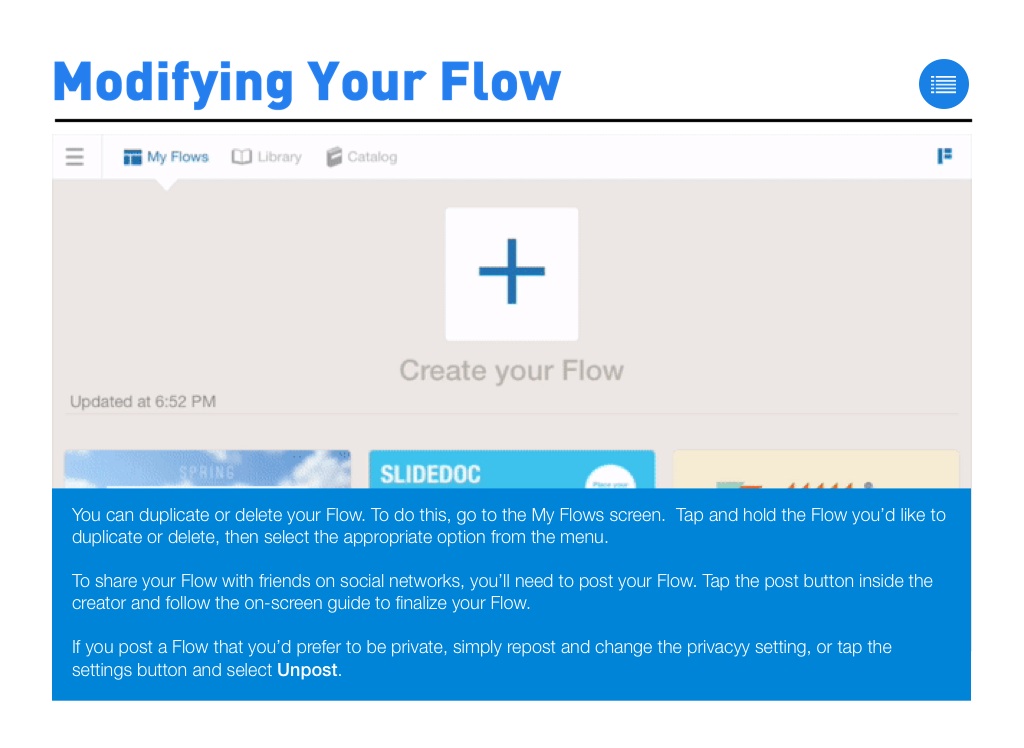
You can duplicate or delete your Flow. To do this, go to the My Flows screen. Tap and hold the Flow you’d like to duplicate or delete, then select the appropriate option from the menu. To share your Flow with friends on social networks, you’ll need to post your Flow. Tap the post button inside the creator and follow the on-screen guide to finalize your Flow. If you post a Flow that you’d prefer to be private, simply repost and change the privacyy setting, or tap the settings button and select Unpost.
Need more help?
If you have any questions or need further assistance, please contact us at
support@flowvella.com
Questions?
Check out our
FAQ
for common questions and their answers
Need a great idea?
View our
gallery
for inspiration